Configuring your API Codebase
This will cover these points
Creating the API on the OneBlink Console
Firstly, we will need to make sure we have something to deploy to when we are ready. Let us go onto the OneBlink Console or if you are a Civicplus customer, Civic Optimize. All screenshots will be taken on the OneBlink Console but, only the colour scheme will be different if you are a Civic Optimize user. All Terminal commands will remain the same but replace “oneblink” with “civicplus”.
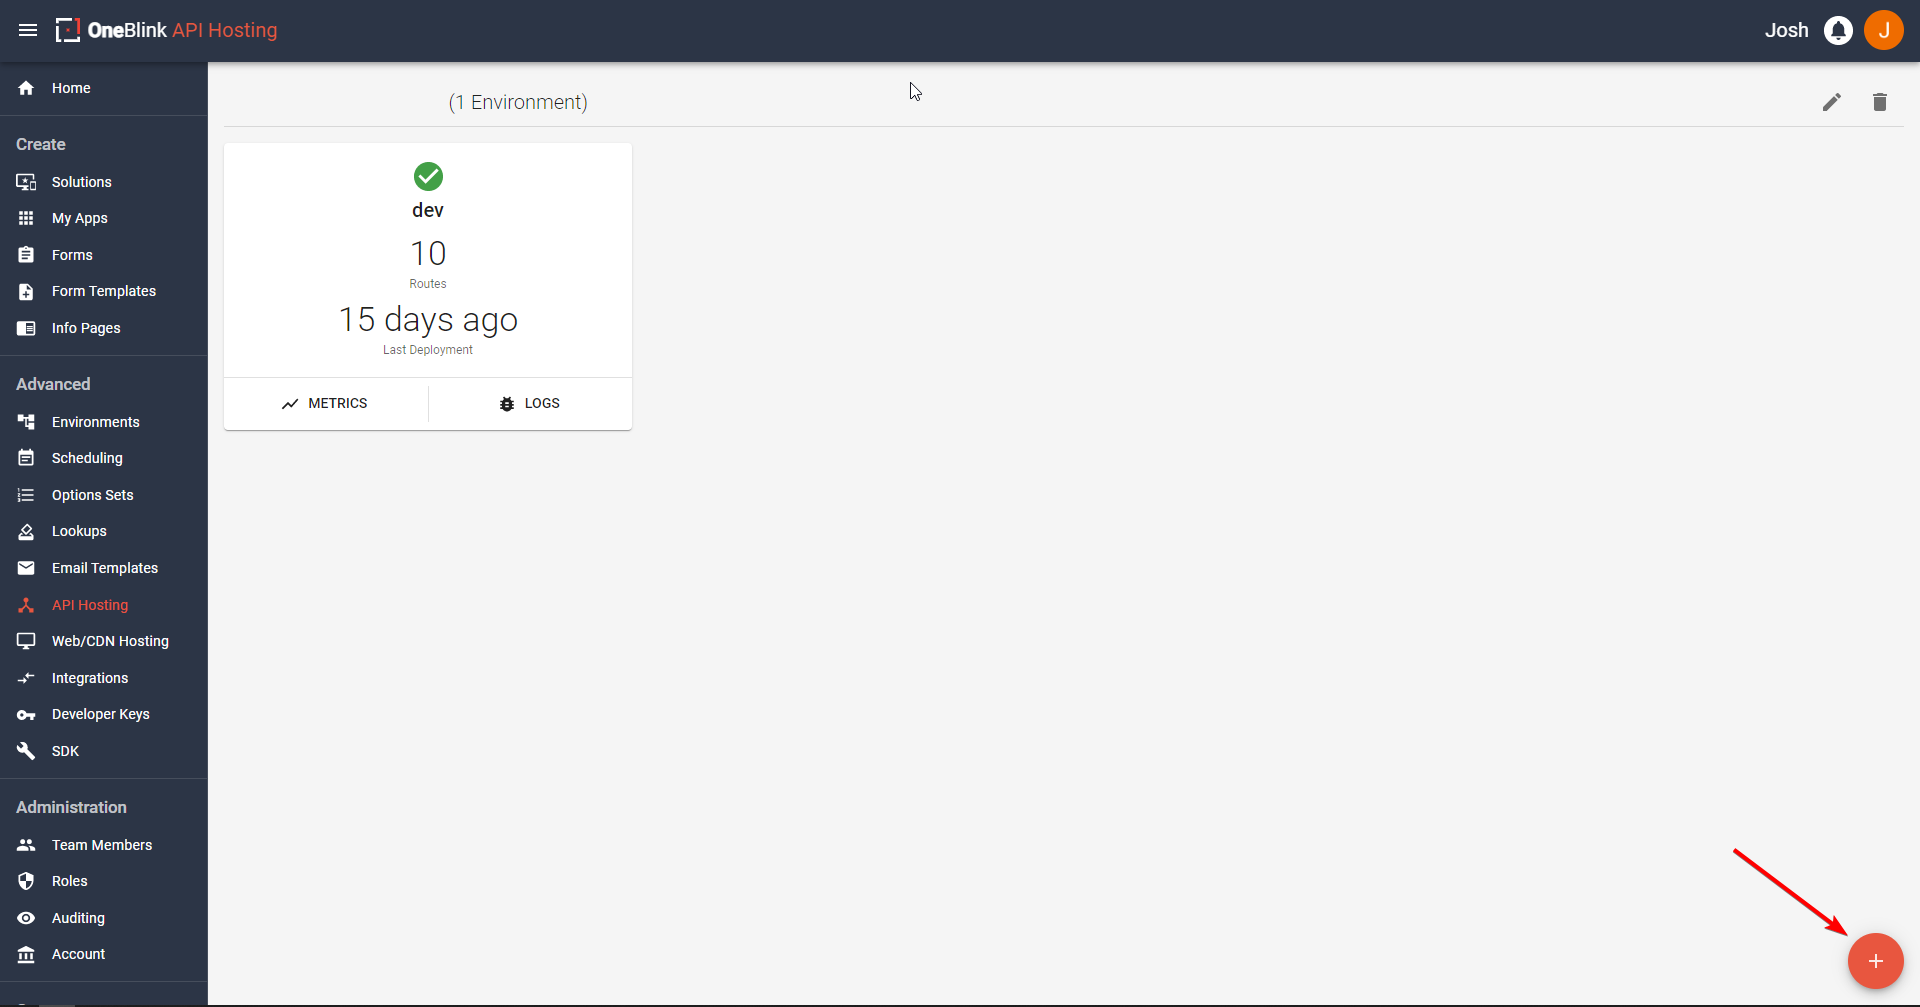
Once we are in our account, go to the “API Hosting” side tab under the Advanced heading. Once here, let us click the plus button in the bottom right hand corner.
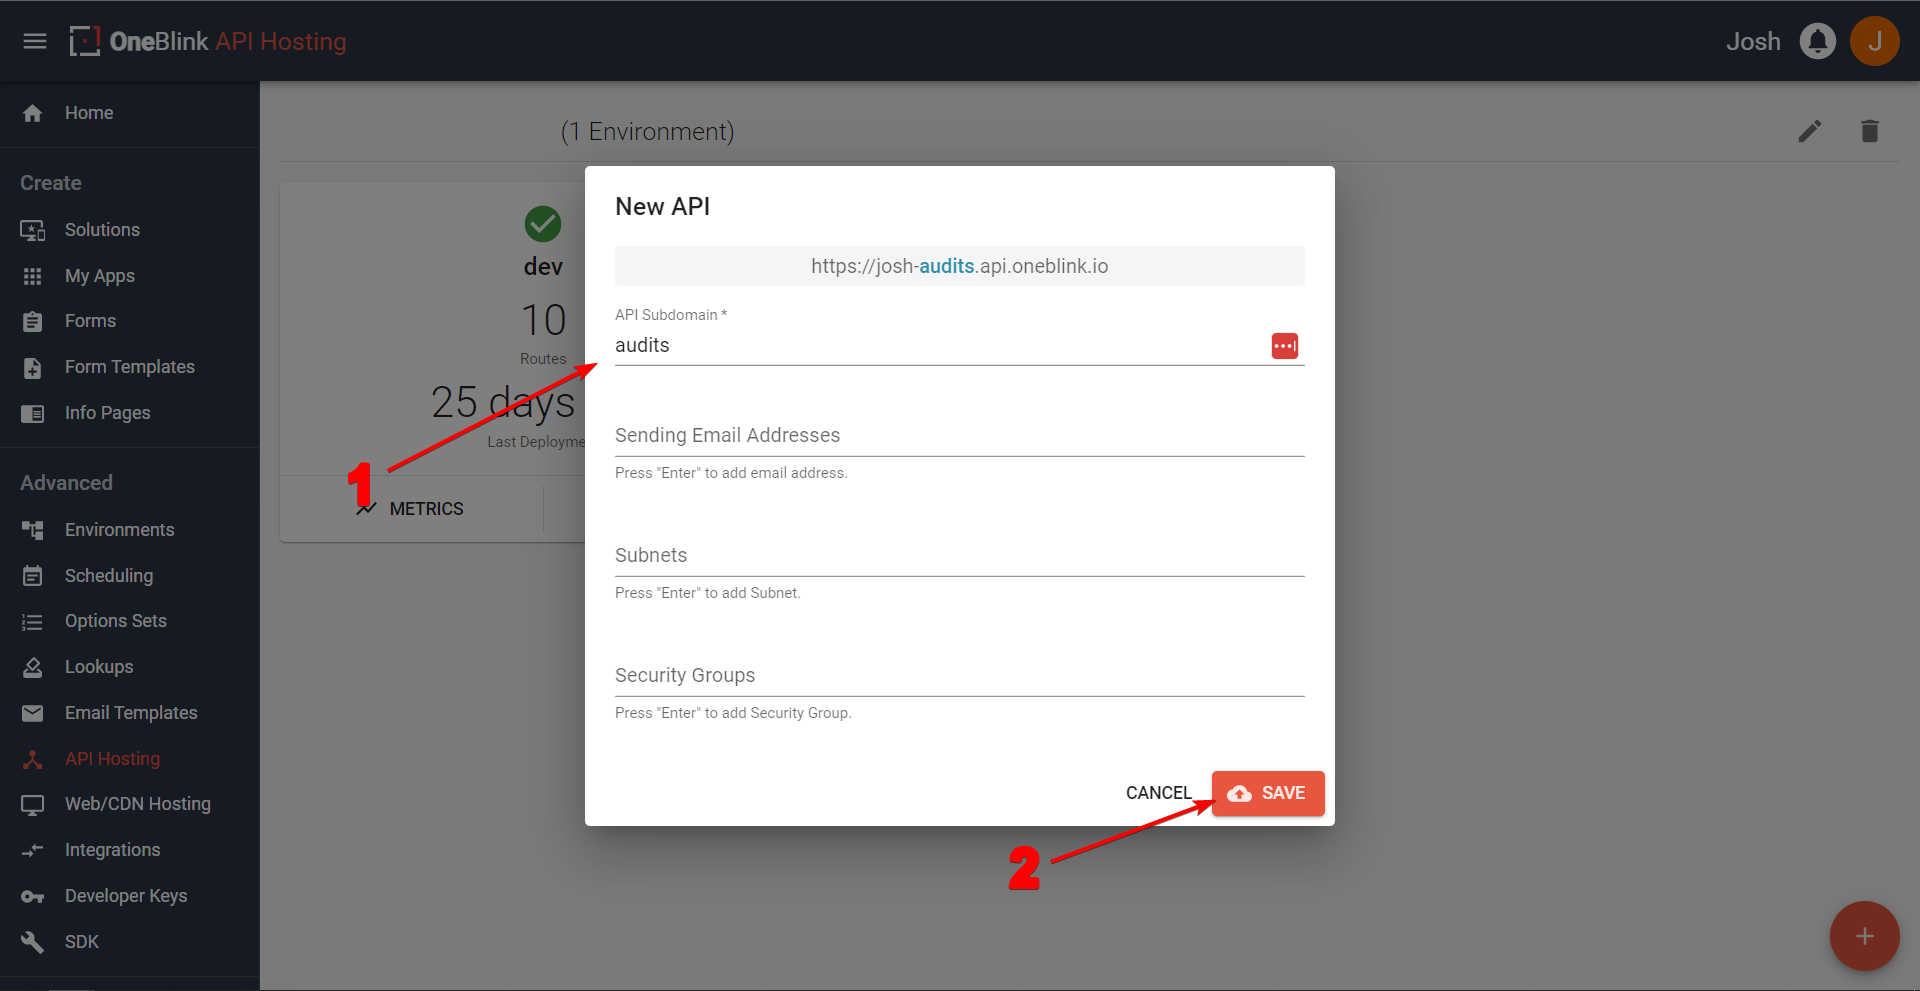
It’s time to fill out some information. We only need to fill in the API subdomain, so call the subdomain what you would like. In my example, I will call it “audits”.
Now you should see it featured with no environments as shown below. Now, we can get onto the fun part!
Create a Folder and call it whatever you want
This folder will be the central spot for all of your API work. In this folder, we are going to create a few important files to start off with. The first file we will create is the .blinkmrc.json file. This stores all the important information regarding your routes, api name, AWS Lambda configuration and much more. We won’t overload you with all the different choices you have in it yet, but first we will create this file and you can copy this template over!
{
  "server": {
    "project": "your-api-name-here.api.oneblink.io",
    "routes": [
      {
        "route": "",
        "module": ""
      }
    ],
    "cors": true
  }
}
This will be updated later on in the guide. But for now, please change the project name to what you made your api name in the OneBlink Console or Civic Optimize.
Now, we can go about creating a route to call the API with!